
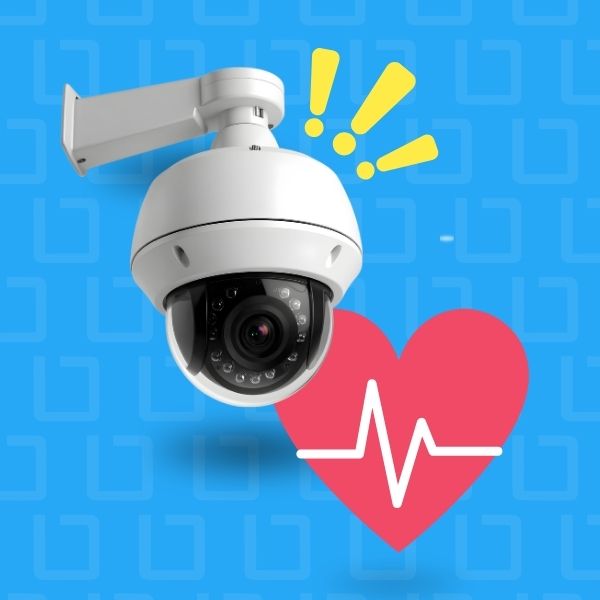
Your cameras can be online, recording, and still produce unusable video. AI Image Analysis adds a new layer of health...

Did you know that you can easily move your Milestone camera streams around by simply dragging and dropping?
Move your live footage around by following easy steps:
You can also double click the top part of a camera in view mode to make the camera full screen.
But these rearrangeable tiles aren’t just handy for camera usage. You can also input maps, HTML pages, text, or other elements into the tiles and move them around as necessary.
It makes multitasking much easier.
By using a Milestone plugin called Axis Optimizer, you can embed customizable code from HTML sites into tiles, as mentioned in tip #1.
Here’s how:
You can now view any embedded web link or widget in a Milestone tile on your view screen!
If you find that the Chevron on the bottom of each tile is bothersome, annoying, or just not necessary (as is the case when embedding an HTML link), you can hide it with just three clicks.
All you have to do is:
Boom.
If you’ve ever launched Milestone Management Client and had issues using the navigation screen because of the text being cut off, here’s the solution.
The typical reason this issue occurs has to do with the Microsoft text scaling on your desktop. The standard solution is to fix the text scaling settings in Windows itself (changing the scaling from 125% [usually the recommended scaling setting] to 100%).
However, this change will alter the text scaling across all applications on your computer. And if you have poor eyesight like me or a high resolution monitor, making the text smaller often makes things even more difficult.
The Milestone Solution:
Now, your text will scale appropriately for readability in Milestone without affecting anything else on your PC.
This is a Milestone time-saving trick worth mentioning time-and-time again because of how useful it is for a variety of situations.
In Milestone XProtect Smart Client, you’re able to customize any keyboard shortcut you want for any particular function.
Our favorite, by far, is using F5 or CTRL + R to reload server configuration.
Here’s how:
Milestone will push it through and you’ll be able to essentially log out and back into Milestone to reload the server with just a click on your keyboard!
In addition to adding a diagnostic overlay with additional information about your camera streams directly to your video footage, you can also add this feature easily in XProtect Web Client.
How to add a diagnostic overlay to your XProtect web interface:
Milestone has now introduced both direct streaming and transcoding to the diagnostic overlay function in the web interface, so you can now see what frames you’re receiving, how you’re receiving them, the video codec, and the resolution of your video with the diagnostic overlay.
Another function that is useful to turn on but is not set up in Milestone by default, is adaptive streaming.
The adaptive streaming tool allows the Milestone software to use the appropriate resolution of a video stream that best suits the camera’s strength or quality.
For example, it is not efficient to stream a 5-megapixel camera into a small Smart Client tile.
No one needs all those pixels in such a tiny space.
This feature requires both server-side and client-side configuration in order to activate it. Check out our blog, XProtect Adaptive Streaming for step-by-step instructions on how to turn this feature on.
After enabling this function, you should see a drastic increase in image quality in video streams.
--ss_registrationRecapped from the pros themselves in Tips, Tricks, and Little-Known Features of Milestone XProtect, those are our 8 favorite Milestone time-saving tricks laid out for you in a super skimmable and searchable format!
Subscribe to our [Not So] Boring Newsletter to receive more Milestone time-saving tricks, security industry news, and other things we find interesting, directly to your inbox.

Your go-to XProtect eXPerts. We learn the technical stuff that will save you time and make it less boring.
Your go-to XProtect eXPerts. We learn the technical stuff that will save you time and make it less boring.
Your cameras can be online, recording, and still produce unusable video. AI Image Analysis adds a new layer of health...
If you're managing a large Milestone XProtect deployment, you already know the routine: camera checks, storage reports, compliance audits, and...
The Boring Lab’s Camera Hat campaign has been shortlisted for the Drum Marketing Awards Americas 2026 in the B2B category....