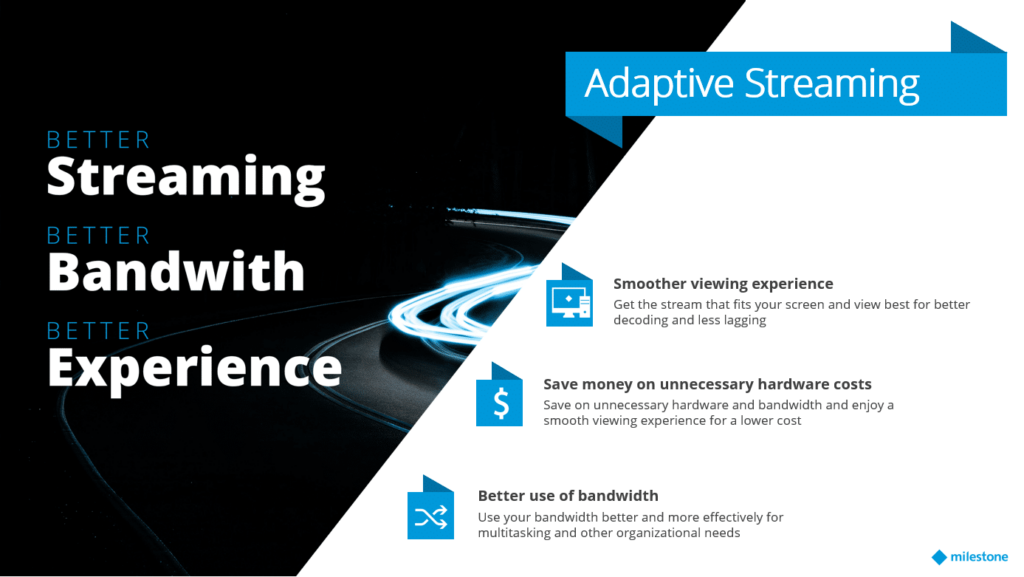
XProtect Adaptive Streaming. You want this and here is how to deploy it quickly.

in version 2019R3 Milestone released a new and greatly requested feature called adaptive streaming that will help reduce network throughput, and more importantly the stress on the client hardware needed to view many cameras at once. So let’s get into it. XProtect adaptive streaming is available in version 2019R3 of Expert and Corporate and requires both an upgrade of the server and client software. What is Adaptive Streaming? Adaptive Streaming is an XProtect feature, designed to improve Smart Client performance by dynamically reducing the stream resolution. It allows smart client to automatically choose the lowest (“most appropriate”) resolution video stream available to fit the view tile size. As an example if you had a 4 x 4 view on a 1920 x 1080 resolution monitor each tile is in Smart Client would be only 480 x 270 in size. Now, lets say you had 16 x 1080p cameras you wanted to stream into that 4 x 4 view. Previous versions of the Smart Client would pull 16 x full 1080p video streams into those tiny 480 x 270 tiles. This would take up unnecessary network bandwidth but more importantly would unnecessarily tax your workstations CPU and GPU to present those 16 streams of 1080p. With Adaptive Streaming, you can set up multiple streams, at different resolutions, and Smart Client will choose the most appropriate one to fit the actual resolution of the tile. So in our example, if you had a second stream set up for 480 x 270 Smart Client will dynamically pull the 2nd camera stream and only pull 16 x 480 x 270 streams greatly reducing the load on the workstation. What do you need for Adaptive Streaming to work? XProtect Expert or Corporate version 2019R3 (see hotfixes here) Smart Client 2019R3 (see hotfixes here) Set up multiple streams on each camera at different resolutions Enable adaptive streaming in Smart Client profile under Advanced. Default is Enabled. Check all caveats and considerations here Setting it up Quickly The only thing you really need to set up to make Adaptive Steaming work is the multiple-streams per each camera. With ten or even 50 cameras this can be done manually via the management client but for larger systems this can be a very time consuming task. Here is how you can do this quickly. Configuring the streams using Boring Camera Settings With Boring Toolbox’s camera settings feature you can set your different stream resolutions and frame-rates across multiple cameras at the same time, regardless of camera make and model. Launch Boring Toolbox Click Hardware Select the cameras you would like to configure a second stream Click Camera Settings Click Yes to only change settings on enabled cameras This will load all your selected cameras in a new dialog Filter the list of cameras by stream number, using the Video Stream drop-down To change frame rate for example Click the Frames Per Second (FPS) tab Video Streams = Video stream 2 FPS = Custom Enter the desired FPS in the text field Click, Apply Selection You can do the same for Codec, Resolution and Streaming mode Repeat for additional streams if you would like Finally click Preview Review changes and click Apply Example of how to set frame-rate in bulk across different device types using settings Enabling the newly configured streams Once the settings have been pushed out you will need to enable the streams so that they can be used by Adaptive Streaming. Again you can do this manually in management client or you can use a combination of Boring Auto-Groups and management client to push this change faster. You can make bulk changes in management client using device groups, BUT the device groups must only contain cameras of similar make and model in order to make those changes. This is almost impossible to manage manually and so we created Auto-Groups. In this example we have all Axis Cameras and we would like to enable the 2nd stream using both Boring Toolbox Auto-Groups and XProtect management client. Create device groups with Boring Toolbox In Boring Toolbox, click Device Groups Create a Device Group called Axis Cameras Click on Add Device Group Rename the group, Axis Cameras Click on Auto Device Groups Recording Servers = All Recording Servers (Default) Grouping Template = [Camera Model] (Default) Parent Group = Axis Cameras Status = Check Enabled Only (Default) Click Preview This will automatically create a devices groups for each of the camera models you have in your XProtect VMS Select only the Axis models Click Next Review, click Save Changes Example of using Auto Groups to dynamically create groups Enable the streams in XProtect Management Client Launch XProtect Management Client Click, Devices > Cameras Select the, Axis Cameras, device group Click on the Streams tab Click Add, which adds another stream Stream = Stream 2 Name = Low Stream (or whatever you would like) Live Mode = When needed Click Save This will update the stream settings for all your Axis Cameras in that group…could be hundreds! Example of how to enable a 2nd stream in management client after using Auto-Groups Reach out to us today to learn more about how to save hours enabling Adaptive Streaming with Boring!

