
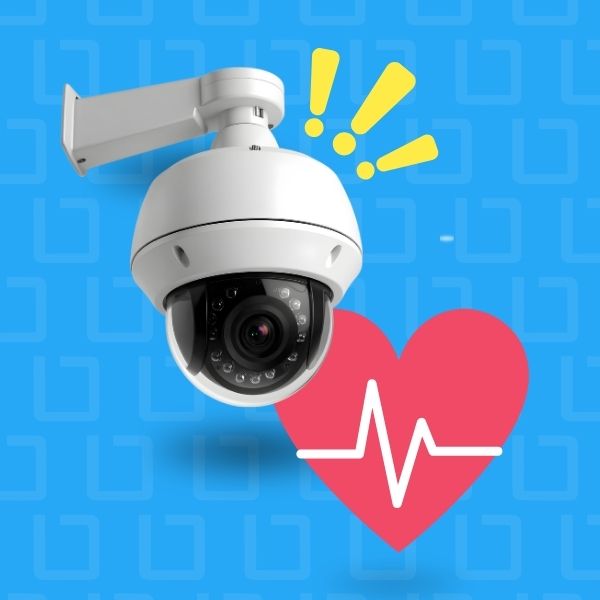
Your cameras can be online, recording, and still produce unusable video. AI Image Analysis adds a new layer of health...

You just installed Milestone XProtect, now what?
Before your integrator bids you a farewell, here are 8 things you need to do to get your new video security system working smoothly and make it easier to manage long term.
Many of these tasks utilize The Boring Toolbox to do things like enable bulk changes across your VMS and run reports. You can also do these things manually but The Boring Toolbox will save you a ton of time and make it way easier to get your system how you want it.
Let’s get started.
If you listen to any of our advice, let it be this one: don’t even think about adding a camera until you’ve updated your archive configuration.
If you don’t, it will artificially shrink the amount of storage you can consume on your physical storage.
This is because Milestone allows you set these limitations on the amount of storage a recording server can consume. By default it is only 1TB so that needs to be updated first thing.
While you’re here, you should also update your retention time. Be warned, if you don’t change your archive configuration limitation, your retention time won’t matter.
Your integrator likely set simple passwords for all of your cameras and devices with the intention that you would change them once you gained access.
Choose strong, unique passwords for all accounts and devices to keep your system secure. Update them regularly to ensure good cyber-hygiene and reduce risk.
This process is made infinitely easier with The Boring Toolbox’s password manager that allows you to scan password health and update camera passwords in bulk.
⬆️ How to audit camera password health using The Boring Toolbox
Cameras named “Camera1” and “Camera9” might make sense during installation, but not so much later. Give your cameras and devices clear, descriptive names that reflect their location or function (e.g., “Front Door Camera,” “Server Room Rack”). This consistency will save you time and confusion down the road.
If you need some guidance on how to name your cameras logically, check out our blog, The Best Camera Naming Logic for Hospitals With Large Video Security Systems. Even if you aren’t in the healthcare industry, it has practical advice that is applicable to any industry.
Think of groups as folders for your cameras and devices. Grouping cameras by manufacturer, user group, location (e.g., “Entrances,” “Perimeter”) or function (e.g., “Cash Registers,” “Production Lines”) makes managing your system much easier. Quickly apply settings, user permissions, and build views in Smart Client.
Having device groups already set up is going to make the next two steps, and any system-wide changes you want to make in the future, much quicker and easier.
⬆️ Creating device groups using The Boring Toolbox
Tired of choppy video previews? Enable adaptive streaming to optimize video playback based on your network bandwidth. This ensures a smooth viewing experience, even when dealing with limited internet connectivity.
How? By allowing you to set multiple streams with multiple resolutions and frame rates and then allowing Milestone to dynamically select the smallest resolution for the viewing feed.
Modern cameras offer smart codecs like Axis’s Zipstream or Hanwha’s Wisestream.
These codecs significantly reduce file size without sacrificing video quality. This translates to less storage space needed and lower network bandwidth consumption – a win-win for your system’s efficiency. It also helps give you a greater ROI because with less storage space and bandwidth needed, you can add more cameras on a single server.
Enable these codecs on all compatible cameras for optimal storage management.
If multiple people need access to your security system but they need different levels of access, you can create roles with permissions to cameras and devices and assign users into them.
This allows you to control what each user can see and do, ensuring only authorized personnel have access to sensitive information.
You can streamline this process by utilizing the device groups that you’ve already created in the previous steps. Creating groups for location, building, or even dedicated access levels can save you a lot of time assigning roles during this initial set up and down the road as employees off board and onboard.
Before finalizing your setup, collaborate with your integrator to run a system report. This report should provide a detailed overview of your entire configuration, including camera names, groups, and settings. Review this report together and make any necessary adjustments (e.g., camera name changes, view modifications) before finalizing the setup.
⬆️ View your reporting options using The Boring Toolbox
PRO-TIP: use scheduled reports in The Boring Toolbox to show you camera snapshots at various times of day. This will help ensure that no camera is caught in a glare or blocked unsuspecting circumstances.
By following these initial setup steps, you’ll ensure your Milestone XProtect system runs smoothly and efficiently from day one. You’ll save time managing your cameras, optimize storage usage, and keep your system secure.
Ready to take control of your Milestone XProtect system? Don’t wait – sign up for a free trial of The Boring Toolbox today and see how much easier and less boring it can be to manage your video security system.
Already a user and lover of The Boring Toolbox?
👉 Learn how to enable BoringBot 👈

Your go-to XProtect eXPerts. We learn the technical stuff that will save you time and make it less boring.
Your go-to XProtect eXPerts. We learn the technical stuff that will save you time and make it less boring.
Your cameras can be online, recording, and still produce unusable video. AI Image Analysis adds a new layer of health...
If you're managing a large Milestone XProtect deployment, you already know the routine: camera checks, storage reports, compliance audits, and...
The Boring Lab’s Camera Hat campaign has been shortlisted for the Drum Marketing Awards Americas 2026 in the B2B category....