
Your cameras can be online, recording, and still produce unusable video. AI Image Analysis adds a new layer of health...

Today we’ll discuss video motion detection on the Milestone XProtect platform and why it is important to change it from its default.
Milestone processes motion detection on the server side allowing the administrator of the VMS lots of flexibility to adjust sensitivity, block out areas of constantly moving objects such as trees and streets, enable hardware acceleration, and more.
Video is streamed to the Milestone XProtect recording server and is buffered and processed in RAM. Milestone then analyses the stream for changes in the pixels’ characteristics and these pixel changes constitute “movement”. If you open up the Milestone management client and browse to the camera device and select the motion tab you will see these pixel changes or the “motion” depicted on the screen as green highlights on the video. Se the car moving through the scene below.
Once the motion (change in pixels) builds beyond a threshold defined by a black line on the red highlighted sliding scale the video starts recording to disk. By default, the motion threshold is set pretty high so depending on your camera view you will find that the small people moving through the scene will not create enough motion to build past the default threshold and you will miss critical footage.
To avoid this adjust the yellow highlighted slider to the LEFT. This will require less motion (pixel change) to trigger recording to disk. I would suggest moving this down to 300 or 400 on ALL cameras as a baseline. You can then tweak each camera as necessary if you see it is using too much of your storage.
To change the default threshold on all cameras in bulk you can use Boring Toolbox to create camera device groups and then log into the management client and edit the threshold on the group.

 , and select all enabled cameras
Your go-to XProtect eXPerts. We learn the technical stuff that will save you time and make it less boring.
Your go-to XProtect eXPerts. We learn the technical stuff that will save you time and make it less boring.
Your cameras can be online, recording, and still produce unusable video. AI Image Analysis adds a new layer of health...
If you're managing a large Milestone XProtect deployment, you already know the routine: camera checks, storage reports, compliance audits, and...
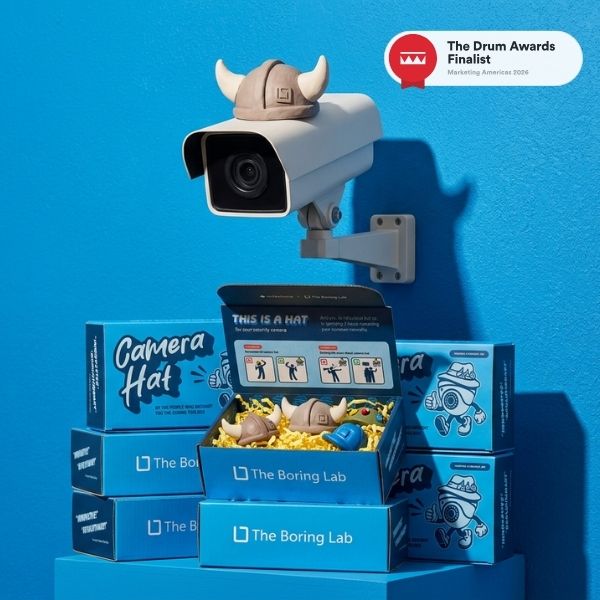
The Boring Lab’s Camera Hat campaign has been shortlisted for the Drum Marketing Awards Americas 2026 in the B2B category....