
Your cameras can be online, recording, and still produce unusable video. AI Image Analysis adds a new layer of health...


Your go-to XProtect eXPerts. We learn the technical stuff that will save you time and make it less boring.
Your go-to XProtect eXPerts. We learn the technical stuff that will save you time and make it less boring.
Your cameras can be online, recording, and still produce unusable video. AI Image Analysis adds a new layer of health...

If you're managing a large Milestone XProtect deployment, you already know the routine: camera checks, storage reports, compliance audits, and...
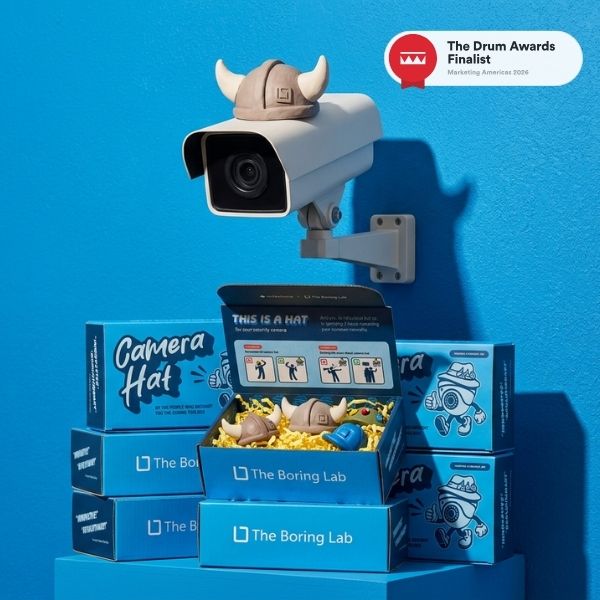
The Boring Lab’s Camera Hat campaign has been shortlisted for the Drum Marketing Awards Americas 2026 in the B2B category....