The Exhibit Hall at ISC West can be overwhelming if you don't go in with a plan. Before booths start...


Your go-to XProtect eXPerts. We learn the technical stuff that will save you time and make it less boring.
Your go-to XProtect eXPerts. We learn the technical stuff that will save you time and make it less boring.
The Exhibit Hall at ISC West can be overwhelming if you don't go in with a plan. Before booths start...

Spread a little love (and laughter) in the security world. Download free, not-at-all-creepy Valentine’s Day cards made just for security...

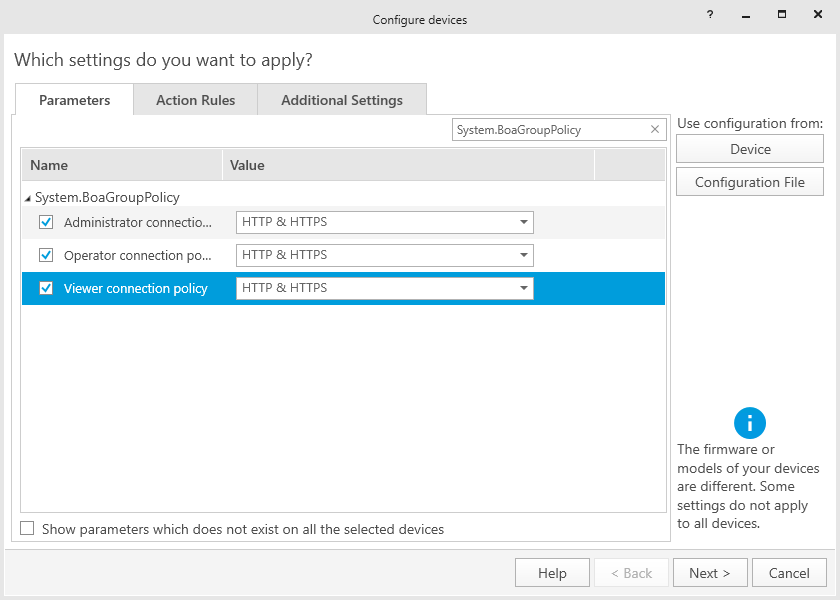
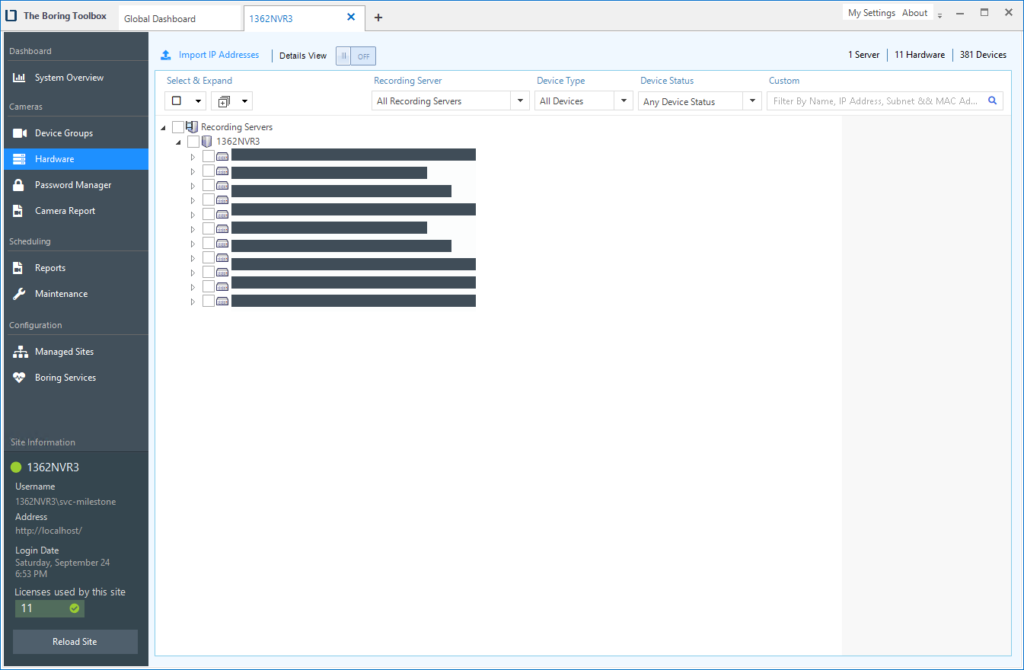
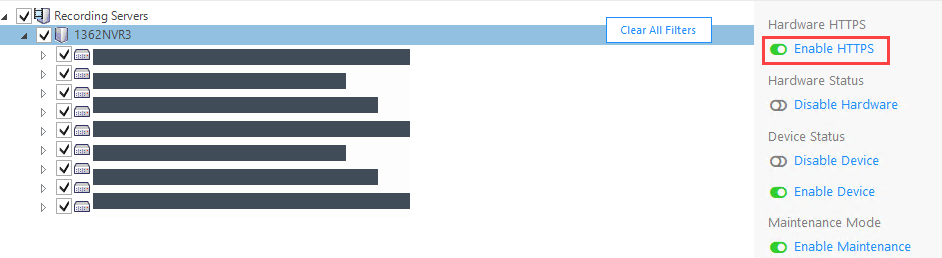
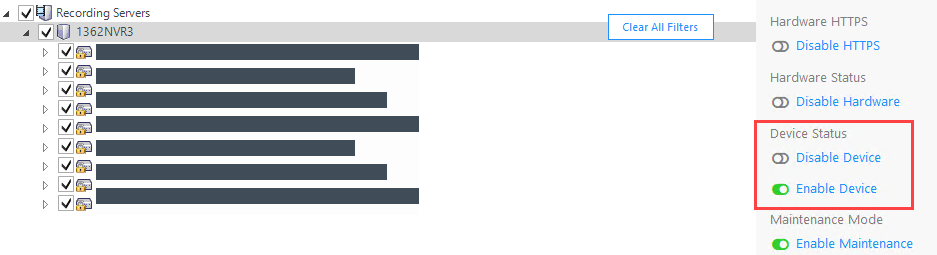
This blog introduces Analytics, a new feature in The Boring Toolbox that brings powerful trend visualization to Milestone XProtect. Learn...